
Screen recording
Sealshot records video as well as images: the full screen, a window, or a region you draw, with system audio and your microphone if you want them. Recordings land in the same Library as your screenshots, protected by the same Enhanced Security encryption.
Starting a recording
Section titled “Starting a recording”- Record screen (⌘⇧V, or the menu bar) — records the display under your pointer. With more than one display, a monitor picker opens so you can click the screen to record.
- Record selection (⌘⇧R, or the menu bar) — opens the capture overlay: drag a region, or hover a window and click to record just that window.
By default Sealshot shows a short Record prompt first, where you can flip system audio, microphone, cursor visibility, and the countdown for just this recording (turn the prompt off there too, with Ask before each recording). A 3-second countdown (configurable: off, 3, 5, or 10 seconds) gives you a moment to set the stage.
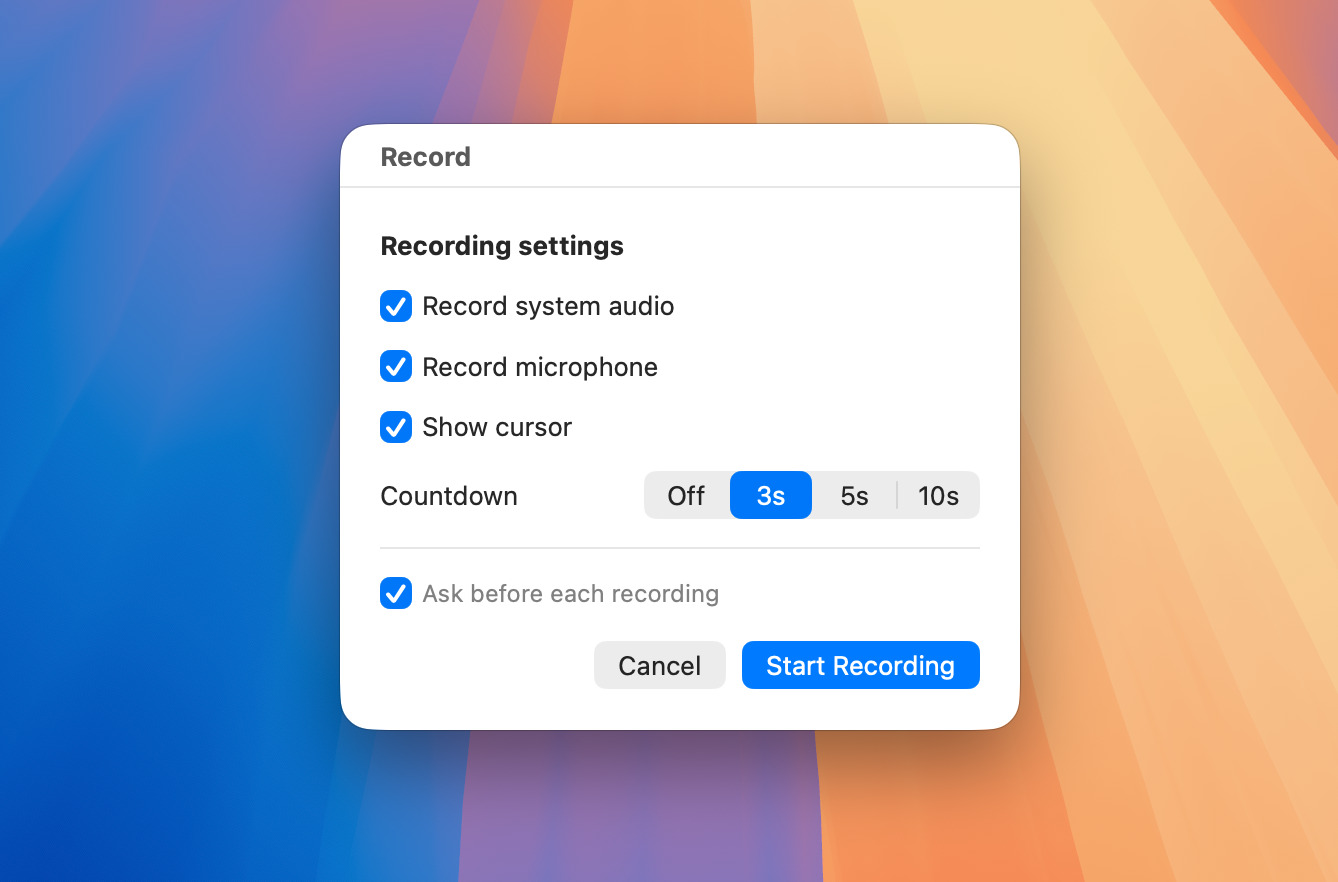 Confirm audio and countdown options, then start.
While recording
Section titled “While recording”A small floating HUD shows a Recording / Paused label and the elapsed time, and stays visible even over full-screen apps. Hover to reveal Pause and Stop; drag the dot to move it out of the way. You can also pause and resume from the keyboard (⌘⇧P) — handy because it keeps the mouse out of your recording — or control everything from the menu bar. Each shortcut stops its own recording: ⌘⇧V ends a full-screen recording, ⌘⇧R a selection recording.
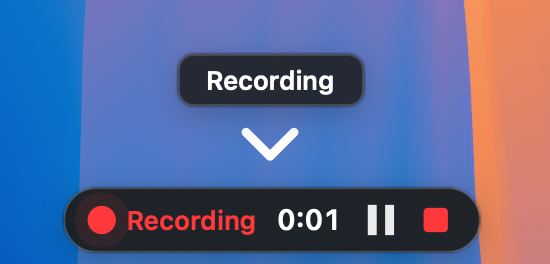 The HUD: elapsed time, pause, and stop. Drag it anywhere.
Two independent sources, both set in Settings → Recording:
- Capture system audio (on by default) — what your Mac is playing.
- Capture microphone (off by default) — your voice. The first time you turn it on, macOS asks for Microphone permission.
Reduce microphone noise (on by default) suppresses background noise and levels your voice — processed on your Mac, like everything else.
Quality and format
Section titled “Quality and format”In Settings → Recording, choose the codec — HEVC (.mov) (default) or H.264 (.mp4) — and the frame rate (30 or 60 fps). Show cursor controls whether the pointer appears in the recording.
Where recordings go
Section titled “Where recordings go”Recordings are saved as video .seal packages in the same folder as
your captures, appear in the Library and recent strip with thumbnails, and
play right in the editor. With Enhanced Security on, a package is encrypted at
rest like everything else.
Package or movie file
Section titled “Package or movie file”Settings → Recording → Save recordings as chooses between them:
| Package (default) | Movie file | |
|---|---|---|
| Tags, searchable text, summary | Yes | No |
| Encrypted with Enhanced Security | Yes | No |
| Ready to send without exporting | No — use Export to Video… | Yes, it is a .mov/.mp4 |
A movie file lands in your save folder ready to attach to anything, and carries a small MOV or MP4 tag on its thumbnail so you can tell at a glance which recordings need no export. It still appears in the recent strip and the Library and plays normally.
The cost is the second row. A movie file is written unencrypted even with Enhanced Security on — as Sealshot puts it when you switch, anyone with access to this Mac, or to a backup or synced copy, can open it. Switching is therefore a confirmation rather than a toggle. Existing recordings and all screenshots stay encrypted, and switching back to Package encrypts new recordings again. See Enhanced Security.
When you need a regular video file, use File → Export to Video… to write
a .mov — for one recording or a whole selection at once. See
Sharing & export.